
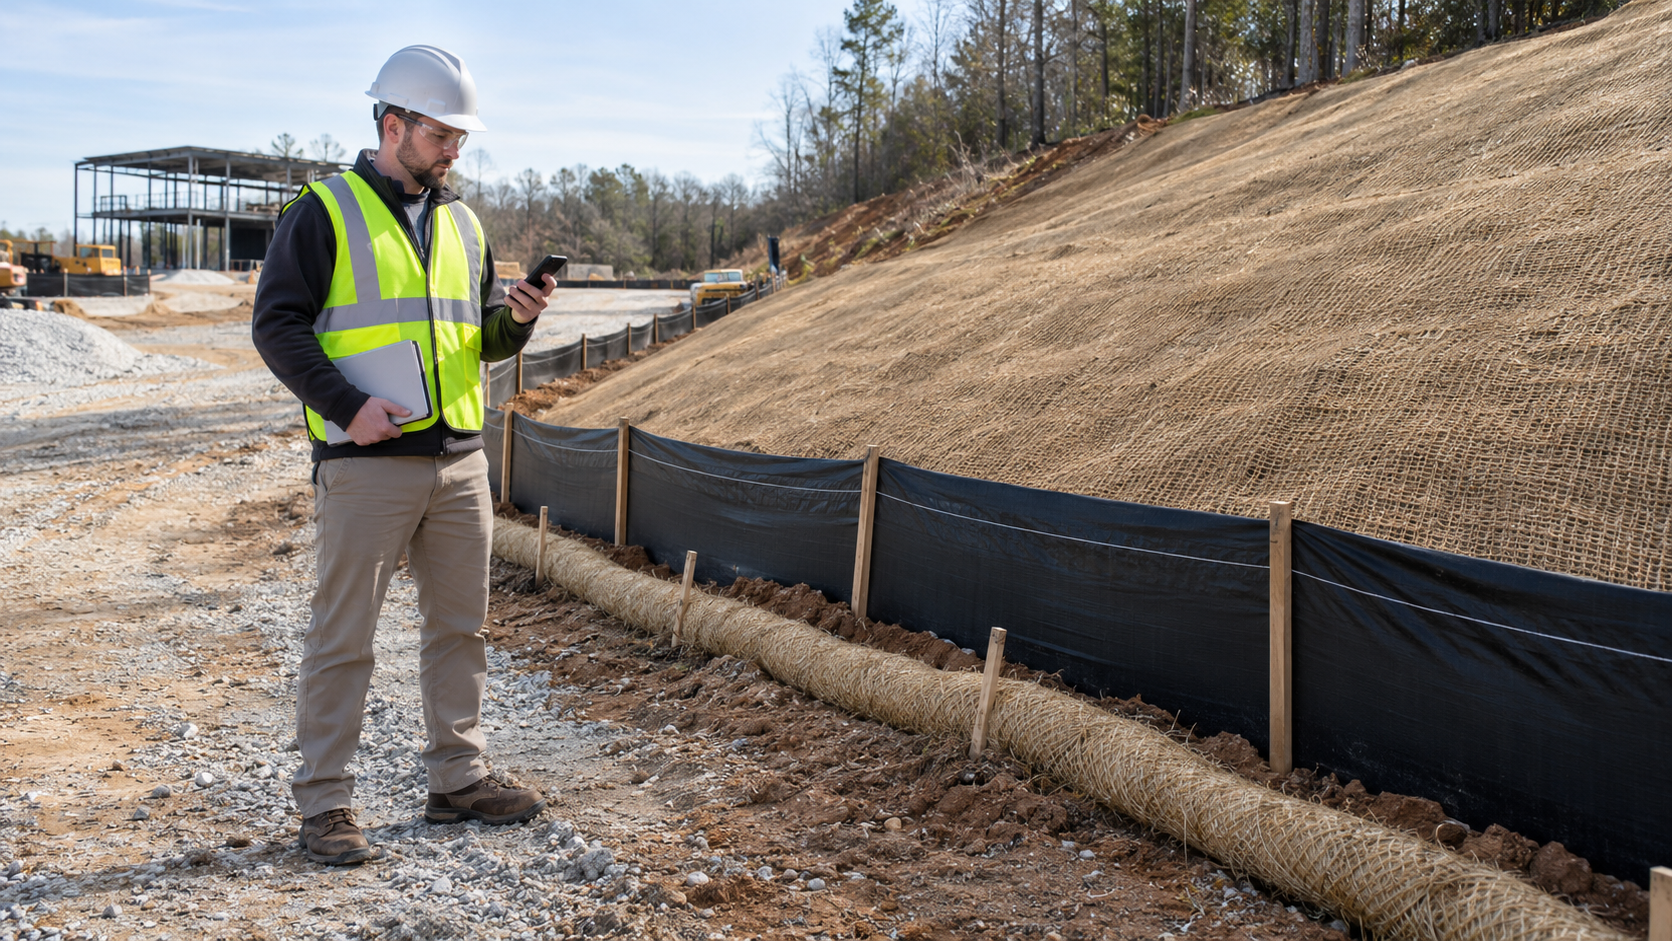
I have spent a large portion of my career inspecting erosion and sediment control on construction sites in a variety of settings.
Over the years, I have realized that an effective inspection involves much more than picking apart flaws in the implementation of an ESC program. Identifying deficiencies and assigning appropriate corrective actions is critical. But if the information is not delivered to the client collaboratively, it generally will not be well received.
I have put a lot of thought into what makes an ESC inspection effective and identified three components that usually produce the best outcomes: documentation, organization, and communication.
01 / A DEFENSIBLE RECORD
Documentation
Early in my career, I was part of an Environmental Monitor crew on a major LNG project in British Columbia. At one point, the entire crew was pulled into the client's office and asked to produce our notebooks. The client's Environmental Lead went through each one with a fine-tooth comb and, to say the least, was not impressed.
Looking back, I can see why. The notes were incomplete, full of non-standard shorthand, and missing key details. They did not form a defensible set of observations. We may have completed the inspections properly, but our notes did not adequately support our conclusions. As the client lead said, if it is not documented, it never happened.
Every site inspection should capture the following:
Location
Where did the inspection occur?Record location at enough levels that someone who was not standing beside you can still find the exact place later. Start with the project, site, station, lot, road, or work area, then narrow it down.
GPS coordinates are especially useful on large, linear, remote, or fast-changing sites. Pair them with a plain-language location so the record remains useful to the person receiving the report. JotCam can add GPS coordinates, timestamps and camera direction directly to the photo record.
Date and time
When did you make the observation?Timing matters when reconstructing what happened before or after rainfall, pumping, grading, or corrective work.
If conditions change during the inspection, note the timing of important observations rather than relying only on the start and end of the site visit.
Weather and site conditions
What were the conditions when you were there?Record current weather and recent conditions that may have affected the site. Rainfall, snowmelt, frozen ground, high winds, and unusually dry conditions can all change how an ESC system performs.
Also document active runoff, ponded water, saturated soil, frozen ground, or significant mud tracking. These details give context to everything else you observed.
Observation
What did you actually see?Describe the condition objectively before giving your interpretation. “Sediment fence torn for approximately 4 m with sediment deposited downslope” is more useful than simply writing “fence failed.”
Include enough detail to describe the extent and severity. Approximate dimensions, affected area, flow direction, sediment depth, and distance to a receptor can turn a vague observation into a defensible one.
Photographs
What visual evidence supports the observation?Photos are among the strongest pieces of inspection documentation when they can be understood later. Take an overview photo to establish context, followed by a closer image that clearly shows the issue.
Tie each photo to the written record: location, date and time, direction where relevant, and a short note explaining what it shows. Be deliberate about the frame. A technically perfect image of a torn sediment fence is not useful if nobody can tell where on the site it was taken.
Required action
What needs to happen next?Pair a deficiency with a practical corrective action. The purpose is not only to identify what is wrong, but to help move the site toward compliance and effective control.
Identify urgency where appropriate. Routine maintenance is different from an item that must be corrected before the next rainfall or before work continues.
Follow-up
Was the issue corrected?Close the loop. If a deficiency is repaired later that day or during the next inspection, document the result.
Before-and-after photos show both the original condition and the response. Over time, they also demonstrate that the inspection program is producing results. A consistent proof-of-work photo workflow helps make those comparisons clear.
Each observation should stand on its own. If I hand the record to someone six months later, they should understand where I was, what the conditions were, what I saw, why it mattered, and what happened next.
That is one reason I focus on photo-based documentation. A properly labelled photo with a short field note is harder to misinterpret than a camera roll full of nearly identical images and a notebook entry that says “fix silt fence by stockpile.” The less reconstructing you do at the end of the day, the stronger the final record will be. The construction photo report guide covers the broader capture-to-report workflow.
02 / KEEP THE CONTEXT CONNECTED
Organization
Good documentation is useful only if you can find it again. I have returned from site with hundreds of photos from multiple work areas, several pages of notes, and a handful of items that had to reach a report before the next morning. The inspection itself may have gone perfectly, but when everything lands in one camera roll and one set of notes, the real work is only beginning.
Organization starts in the field, not when you sit down at your computer. The more structure you apply while collecting information, the less time you spend reconstructing the day.
Separate the work into logical inspection areas
A small site may need one inspection record. On a large project, divide the day by site, reach, station, crew, or work front. Match the structure used by the client so the final report is easy to follow.
JotCam's Project and Session structure is designed for this kind of field organization.
Keep photos and notes together
Avoid systems where the image lives in one place and its explanation in another. Capture a short description at the same time as the photo instead of trying to remember the significance of Photo 186 later that night.
Use consistent naming
Choose terminology and keep it consistent. If one person calls an area North Pond, another calls it Pond 2, and the drawings call it SWMF-02, confusion arrives quickly. Use the same names for locations, ESC measures, and recurring deficiencies.
Keep each inspection date separate
Repeated visits often cover the same work areas and controls. Preserve a date-specific record while keeping site names consistent across inspections so conditions remain easy to compare over time.
Build the report as you go
Collect information in a form already close to the final report. If the report needs a photo, location, observation, and recommendation, capture those four things together in the field.
A normal phone camera takes excellent pictures but does little to organize an inspection. That gap is a big part of why I built JotCam the way I did. The goal is not to replace professional judgement or turn an inspection into a rigid checklist. It is to keep the photo, site, date, location, and notes connected from collection through the final report.
Whatever system you use, the objective is the same: when the field portion is complete, you should already have an organized record. Reporting should feel like assembling information you have captured, not solving a puzzle made from your own photos and notes.
03 / ENCOURAGE ACTION
Communication
You can be technically correct, have excellent documentation, and produce a beautifully organized report, yet still be ineffective if your communication puts everyone on the defensive.
An ESC inspection is not a competition between the inspector and the construction team. In most cases, everyone wants to keep the project moving, meet environmental requirements, and prevent sediment from leaving the work area. The inspector's job is to identify risk and help the team deal with it, not prove that somebody did something wrong.
That does not mean softening legitimate deficiencies or avoiding difficult conversations. There are times when clear, firm direction is required. But there is a difference between being firm and being adversarial.
Talk about the issue while you are on site
Whenever possible, discuss a deficiency with the superintendent, foreman, or environmental representative during the inspection. They can provide context, help agree on a practical corrective action, and may fix the issue before you leave.
Focus on the condition, not the person
“The inlet protection needs to be reset before the next rainfall” is productive. “Your crew installed this wrong” usually is not. Describe what you observed, why it matters, and what needs to change.
Explain the reason behind the recommendation
People are more receptive when they understand the risk. Explain that runoff is bypassing the control or that forecast rain creates an exposure instead of giving a direction without context.
Recognize what is working
Acknowledge a well-built control, a completed repair, or an area that improved since the last inspection. This is not padding the report; it reinforces the practices you want repeated.
Match the urgency to the risk
Not every deficiency is an emergency. Distinguish immediate action, work required before the next weather event, and routine maintenance so the construction team can prioritize time and resources.
Make the report easy to act on
The recipient should not need three paragraphs to find the requested action. Clearly show the location, issue, and recommendation. A well-selected photo removes ambiguity for the person directing the repair.
The best inspection relationships are the ones where the construction team sees the inspector as a resource rather than an obstacle. People start calling before a problem develops, asking for input, and letting you know when corrective work is complete. The program becomes proactive instead of reactive, and that is where better environmental outcomes begin.
Putting it all together
The inspections that go well almost always have the same three things in common. The observations are defensible, the information is organized well enough to be useful, and the findings are communicated in a way that encourages action.
Document
Record what happened with enough context to stand on its own.
Organize
Keep every photo, note, place, and inspection date connected.
Communicate
Make the finding and required action clear to the people doing the work.
If one piece is missing, the value of the inspection drops quickly. Great documentation that nobody can find is not helpful. A perfectly organized report with vague observations is not defensible. Even the best technical recommendation can fail if it is delivered in a way that guarantees resistance.
Technical knowledge still matters. You need to understand drainage, erosion processes, sediment transport, control measures, and the requirements that apply to the site. But the real skill is turning what you see into a clear record that helps someone make a better decision.
An effective ESC inspection should leave the site better understood than you found it, give the construction team a clear path forward, and create a record that still makes sense long after everyone has forgotten that particular day.
THE FIELD WORKFLOW
How I use JotCam to set myself up for success
JotCam was built around documentation, organization, and communication. Its biggest benefit for me is connecting those pieces while I am still in the field instead of forcing me to reconstruct the inspection later.
I capture the photo, date, time, GPS location, project or site label, and a short observation together. If something needs emphasis, I can mark up the image. That creates a stronger record than a folder of ordinary photos and details recalled later.
I use the same project and site structure I use in the field, then keep each inspection date separate. Photos and notes stay grouped with the correct site from the start.
I use Report Notes to capture the issue, context, and recommended action while it is fresh, then generate a photo report that keeps the image and information together in a format the construction team can act on.
None of that replaces the judgement required to complete a good inspection. It removes friction between seeing something in the field and turning it into a useful record. By the time I leave site, I want the inspection largely documented, already organized, and ready to communicate. That is the workflow I built JotCam to support.
See what is included with JotCam →